
MongoDB is a distributed database that’s constructed for contemporary transactional and analytical functions and could also be used for quickly altering, multi-structured information. Then again, PostgreSQL is an SQL database that has the entire options that you just require from a relational database. If you’re uncertain of the variations between these techniques, on the MongoDB web site, you’ll find an article that compares PostgreSQL and MongoDB.
Selecting one or the opposite between MongoDB and PostgreSQL is probably not your solely choice – the truth is, as a result of every database has totally different strengths, chances are you’ll want to use them side-by-side. If that is your case, then chances are you’ll have to sync information between them.
Customized constructing a knowledge pipeline to duplicate information from MongoDB to Postgres is time-consuming and tedious. Then again, Airbyte is designed precisely for this job. This text will exhibit how one can use Airbyte to duplicate and synchronize information from MongoDB to PostgreSQL!
Stipulations
This tutorial makes use of the next instruments:
- Clever Cloud: internet hosting of the MongoDB and PostgreSQL databases.
- mongosh: A CLI consumer to interface with the MongoDB database.
- Postgres CLI: A terminal-based front-end to PostgreSQL.
- Airbyte cloud: An information integration device that will likely be used to duplicate and synchronize information between MongoDB and PostgreSQL. Alternatively, chances are you’ll select to install Airbyte OSS locally.
Step 1-A: Launch MongoDB
On this part, you’ll use Clever Cloud to create a MongoDB occasion. When you join, select the choice to create an add-on out of your private area.

From the out there checklist of add-ons, select the MongoDB add-on.
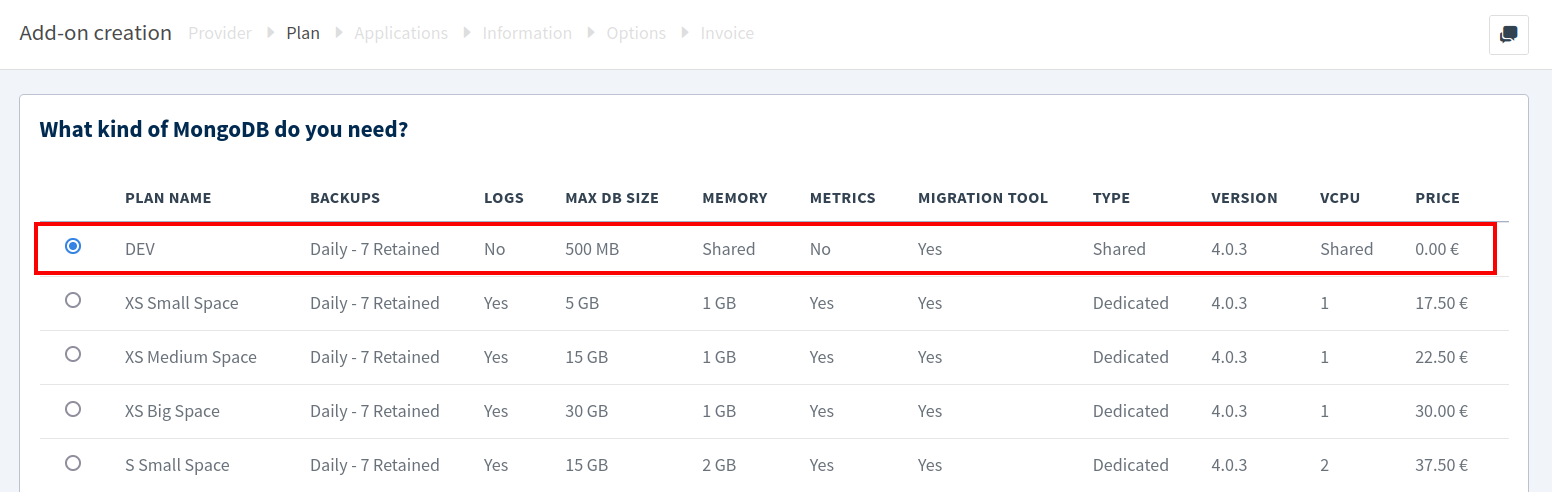
For the occasion measurement, select the DEV plan, which is free to make use of.
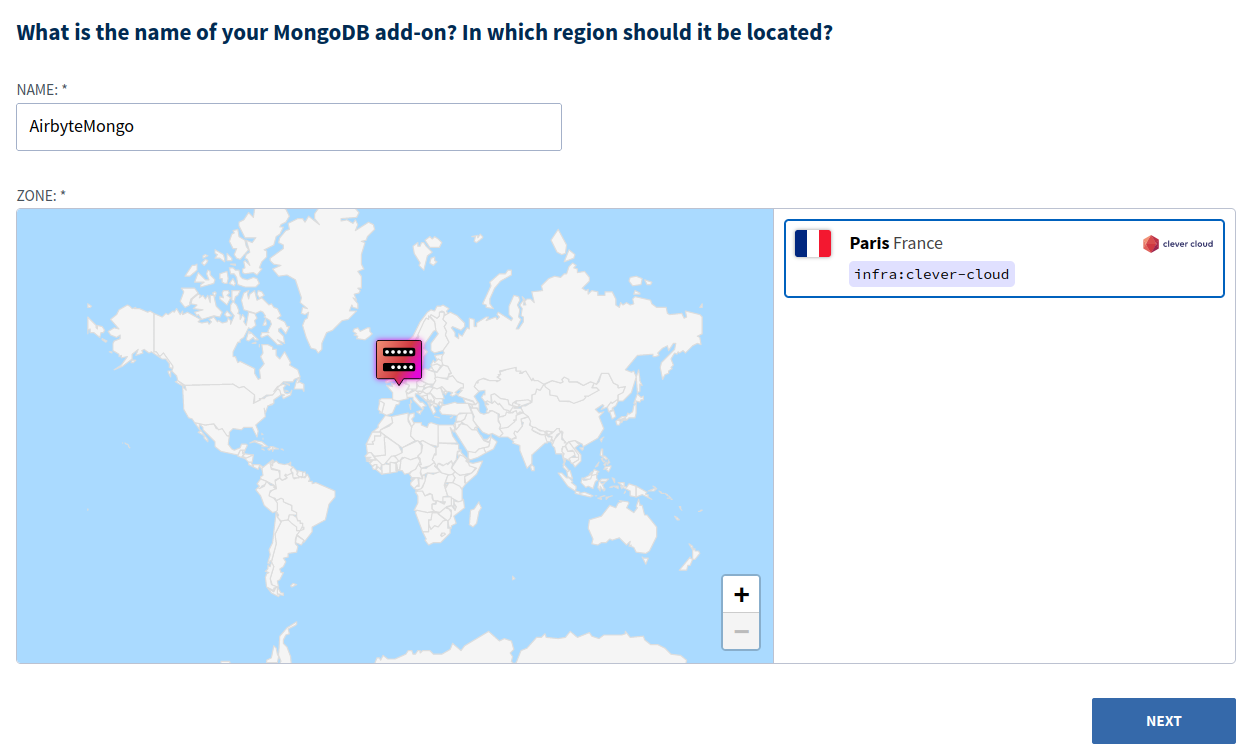
Enter an add-on title, choose a area as proven under, after which click on Subsequent.
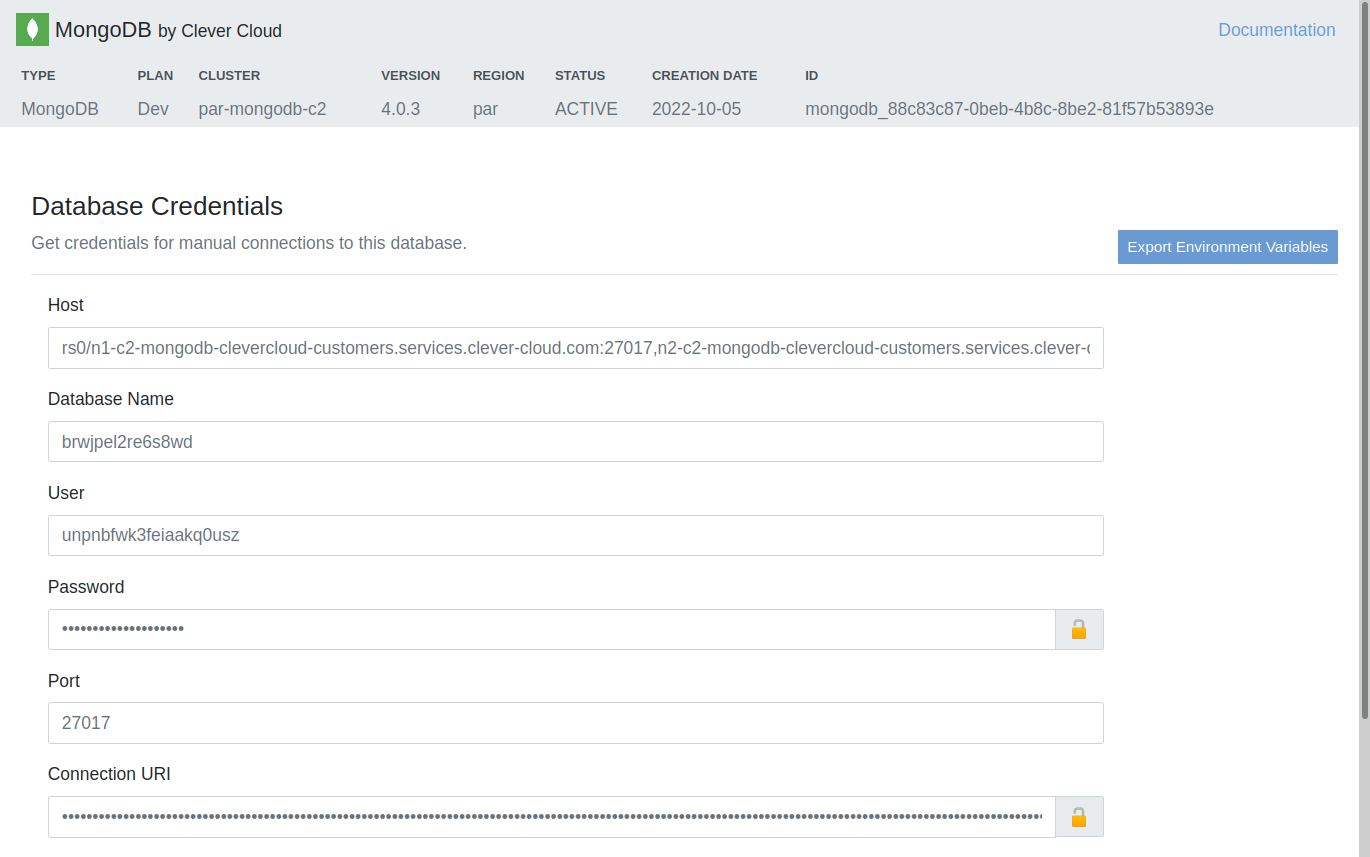
It’s best to now have a brand new MongoDB database created with all the main points to hook up with it. Copy the Mongo CLI connection command from the Intelligent Cloud add-on dashboard proven under.

Copy and change “mongo” with “mongosh” earlier than executing the command in your terminal, as demonstrated under:
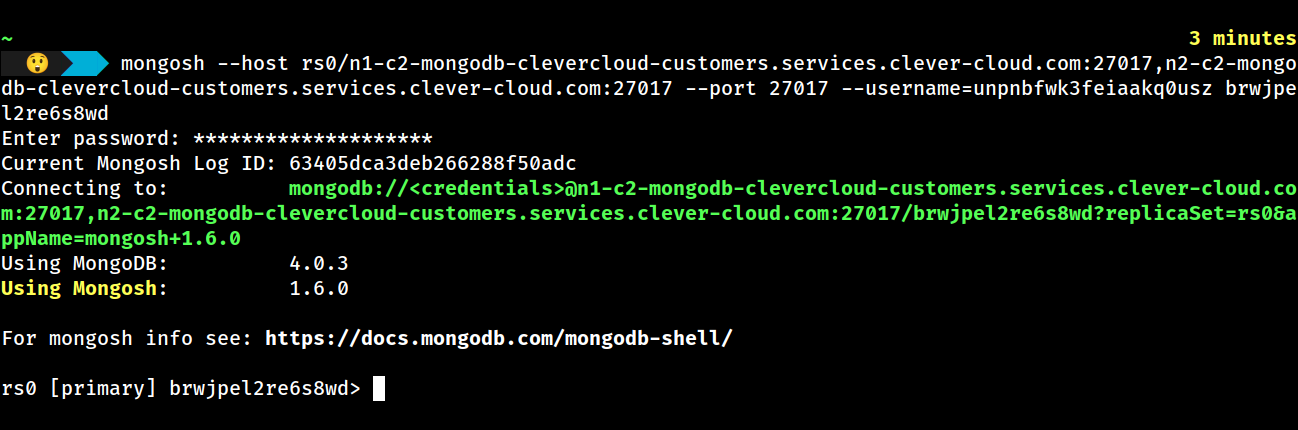
It’s best to now be related to the PRIMARY duplicate of the MongoDB duplicate set (indicated by [primary] within the shell).
Within the Airbyte connection to MongoDB, you’ll make use of the URL for the primary replica. This may be retrieved by operating rs.isMaster().main within the MongoDB shell, which can reply with a string within the format of [hostname]:[port]. In our case, the URL returned by this command is n2-c2-mongodb-clevercloud-customers.companies.clever-cloud.com:27017
Step 1-B: Add Knowledge to MongoDB (Elective)
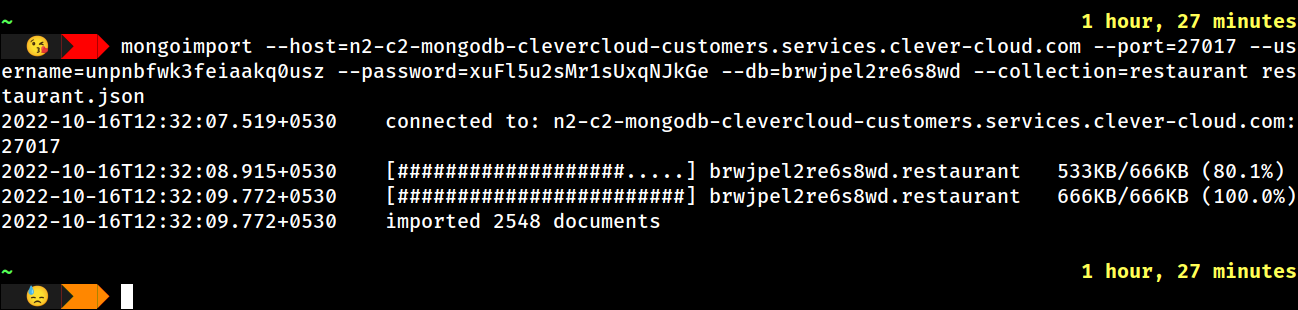
For this demo, we obtain after which import a sample restaurant collection utilizing the mongoimport db tool command.
mongoimport --host=n2-c2-mongodb-clevercloud-customers.companies.clever-cloud.com --port=27017 --username= --password= --db= –assortment=restaurant restaurant.json
Step 2: Configure a MongoDB Supply Connector
Create an Airbyte MongoDB supply by selecting sources out of your Airbyte dashboard and clicking on the New Supply button. Then, from the checklist of sources, select MongoDB, and you must see a UI much like the next:

To maintain this tutorial easy and for demonstration functions solely, within the above picture, we’ve chosen a Standalone MongoDB occasion. Nonetheless, you might also take into account choosing one of many alternative MongoDB configuration parameters if you want a extra resilient connection to your MongoDB cluster.
Enter the Host, Port, Username, DB Title, and Password that had been proven earlier within the Intelligent Cloud MongoDB configuration UI. Then select Arrange supply.
Step 3: Launch PostgreSQL
To arrange a PostgreSQL database, create a brand new add-on in your Intelligent Cloud dashboard and select PostgreSQL from the out there add-ons.
For the plan, select the DEV choice, which supplies 256 MB for storage.

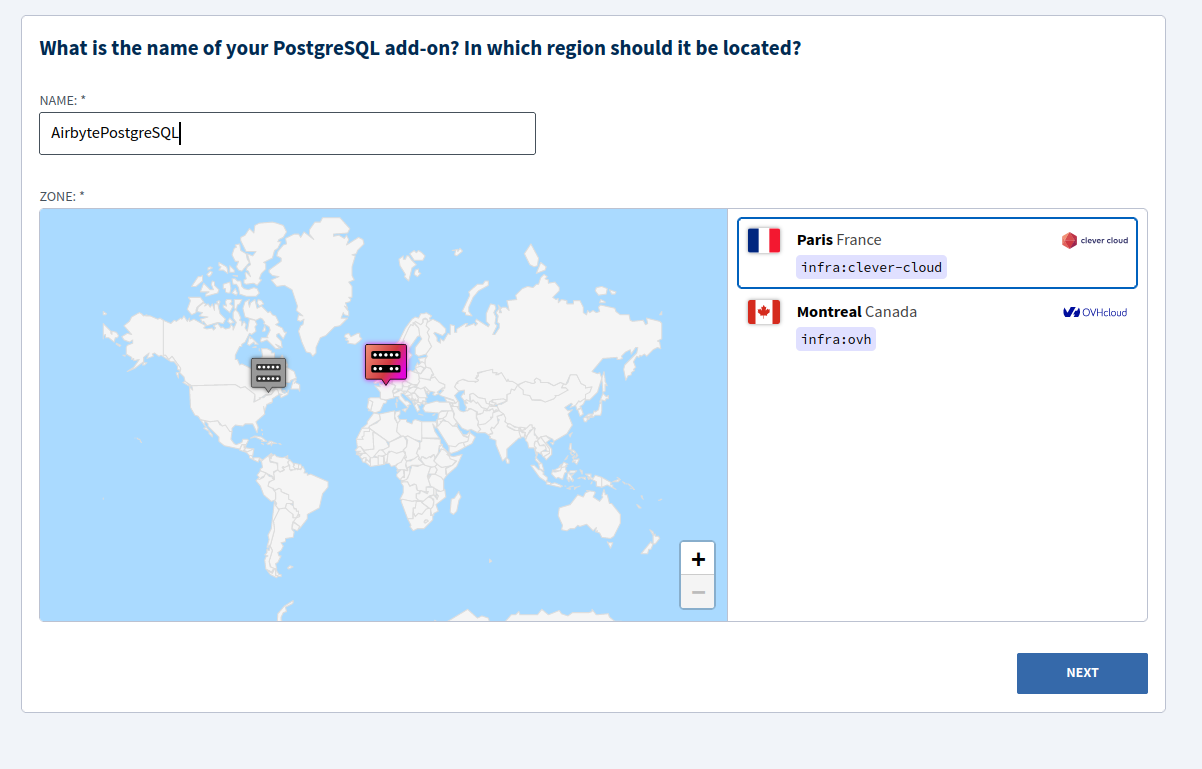
Give a reputation to your add-on, and select a location.
Click on on Subsequent as soon as you’re glad together with your configurations, after which Intelligent Cloud ought to present you the PostgreSQL database credentials with data that will likely be required by Airbyte, together with host, person, password, and database title.
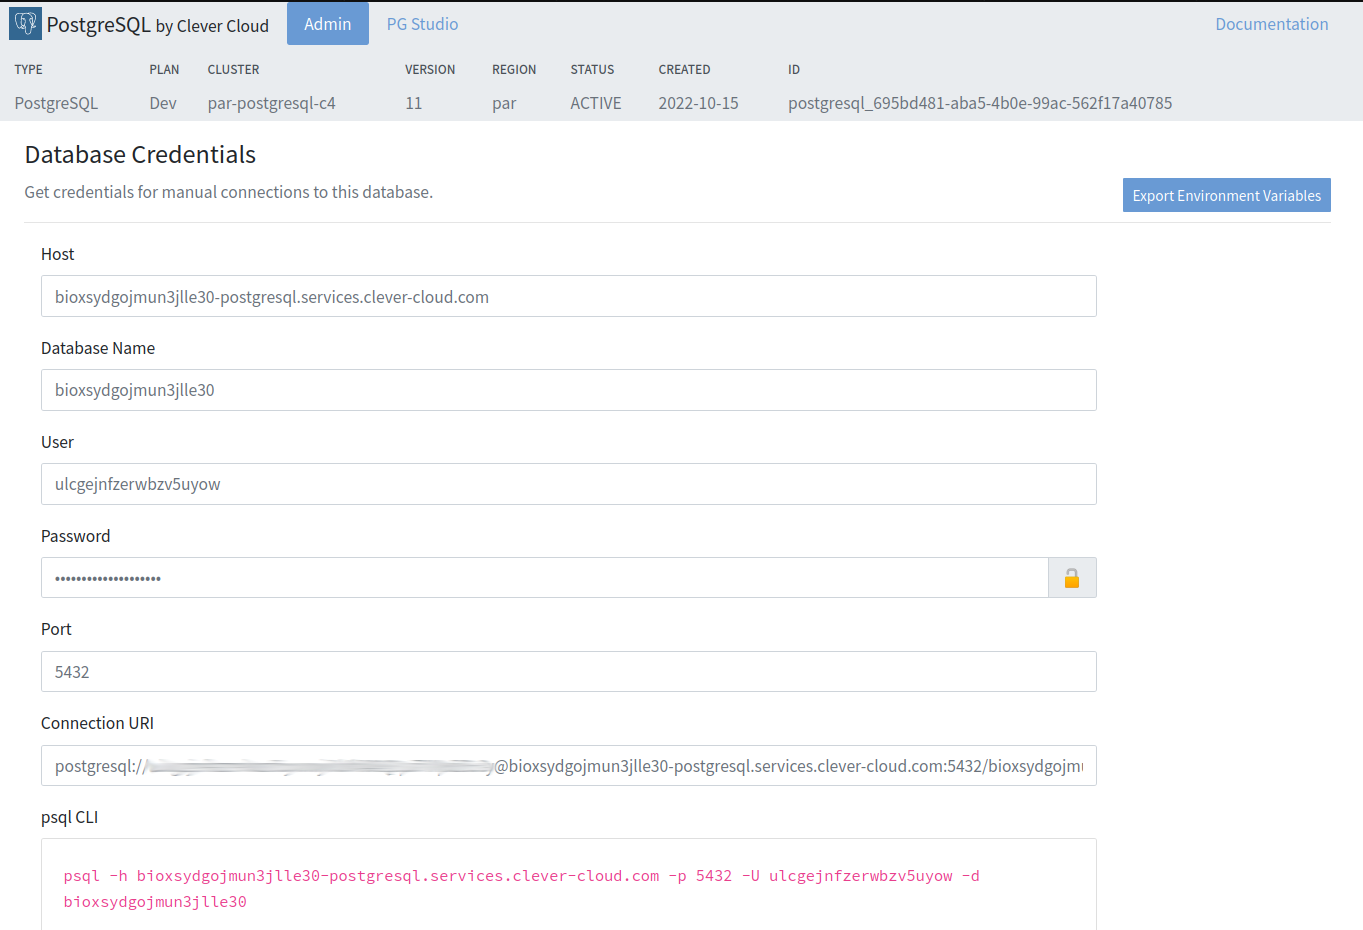
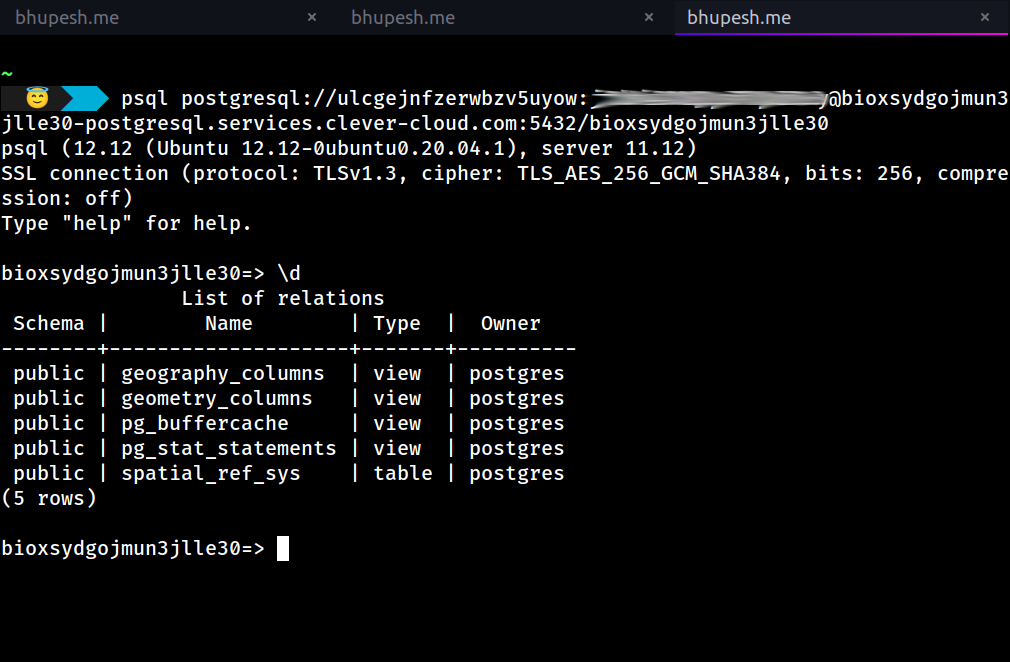
To hook up with our newly created database, copy the Connection URI and supply it as an argument to the PSQL CLI device, as proven under.
Step 4: Configure a PostgreSQL Vacation spot Connector
Go to Locations in your Airbyte Dashboard, select to Create vacation spot from the checklist, and select PostgreSQL. You’ll then see a UI much like the next:

Enter the PostgreSQL parameters that had been returned by Intelligent Cloud, and click on Arrange vacation spot.
Step 5: Arrange an Airbyte Connection From MongoDB to Postgres
Go to Connections in your Airbyte dashboard and select New connection. Choose the supply and the vacation spot that you just simply created, at which level you must see a UI much like the next:
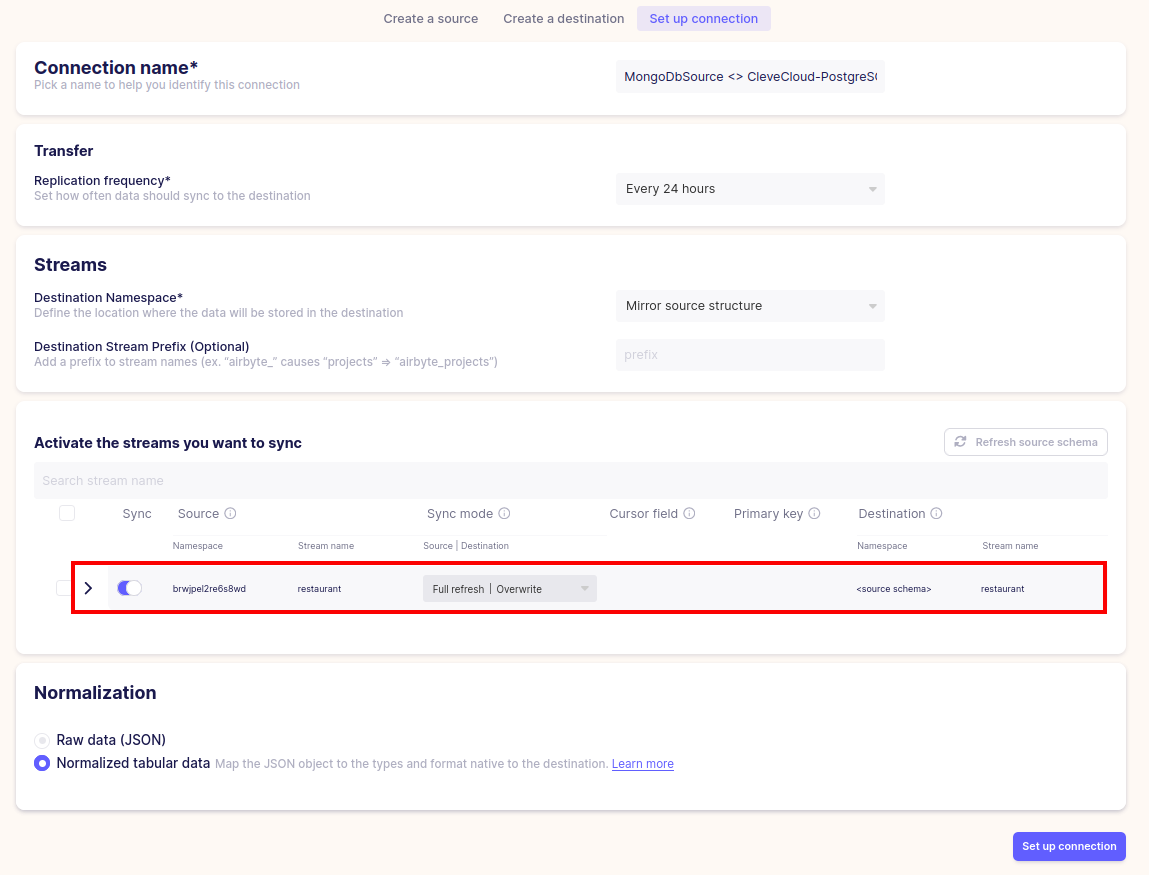
Airbyte has accurately detected the restaurant assortment as a stream, and you’ll select the way it needs to be replicated to PostgreSQL. For sync mode, select one from the out there modes.
For Replication frequency, specify the interval between sync runs. As soon as you’re finished with the configurations, select Arrange connection, and Airbyte will begin its first sync. As soon as full, it is possible for you to to see what number of data had been replicated.

Log in to the Postgres host to see the replicated information. Notice that you could change the search_path in accordance with the DB Title that you just specified while you arrange the PostgreSQL vacation spot in Airbyte.
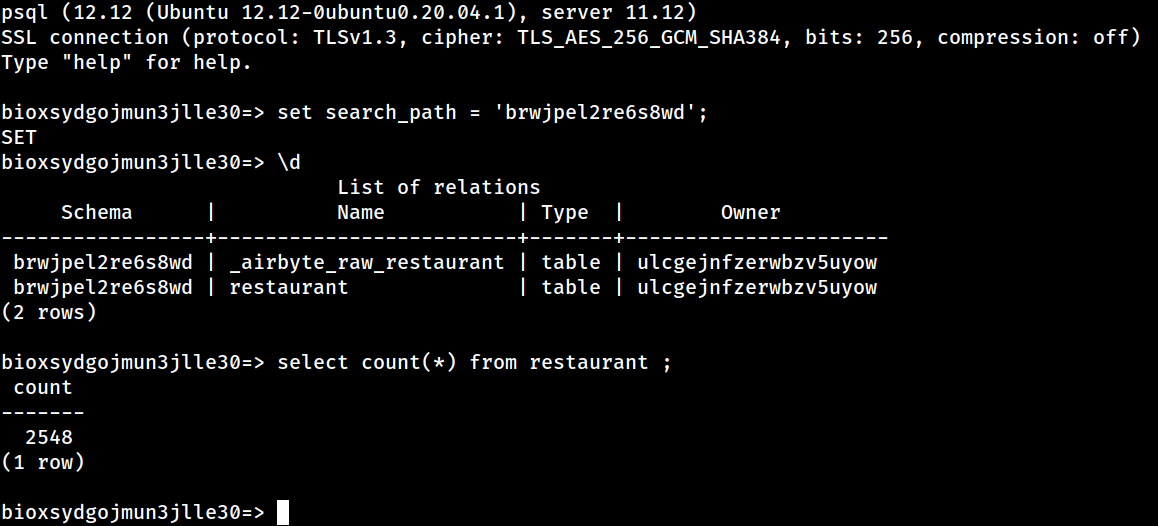
It’s best to now be capable to view the replicated information utilizing commonplace SQL instructions.
Conclusion
In abstract, on this tutorial, you’ve discovered how one can:
- Launch a MongoDB database on Intelligent Cloud, after which how add some check information to it.
- Configure an Airbyte supply connector to learn information from MongoDB.
- Launch a PostgreSQL database on Intelligent Cloud.
- Configure an Airbyte vacation spot connector to ship information into PostgreSQL.
- Create an Airbyte connection that replicates information from MongoDB to Postgres.


